> For the complete documentation index, see [llms.txt](https://guides-mechboards.gitbook.io/guides/llms.txt). Markdown versions of documentation pages are available by appending `.md` to page URLs; this page is available as [Markdown](https://guides-mechboards.gitbook.io/guides/mbuk-build-guides/the-lily58-r2g-build-guide-plate-case.md).
# The Lily58 R2G Build Guide (Plate Case)
In this guide, we will teach you everything you need to know to get up and typing!
## Required to Build:
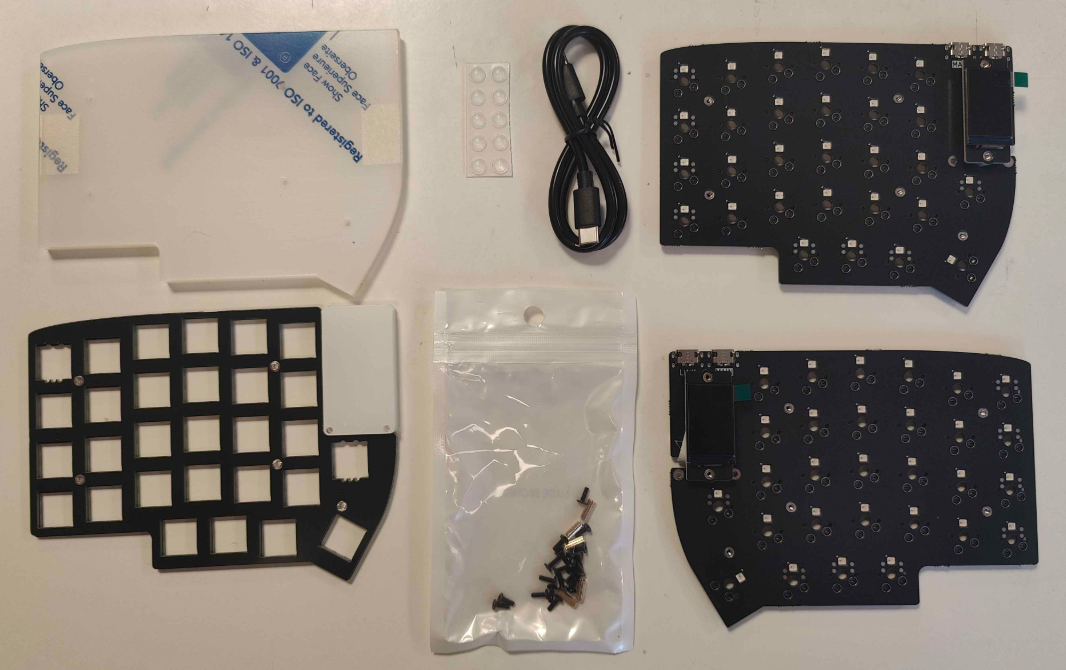
First things first, let’s check we've got everything included in the kit. If there’s anything missing, send us a message [here](https://mechboards.co.uk/pages/faq) so we can get you back to the build ASAP! (Spares are included in the contents below)
| | | |
| ---------------------- | ------------------------------ | -------------------------------- |
| 1 x Lily58 R2G PCB | 1 x Set of Acrylic Back Plates | 1 x Set of Acrylic Screen Covers |
| 20 x 6mm M2 Screws | 4 x 4mm Screws | 4 x 8mm Standoffs |
| 10 x Rubber Feet | 1 x C to C Cable | 58 x Switches of your choice |
| Keycaps of your choice | | |
As for tools, all you'll need is a Phillips Head Screwdriver, it's as simple as that!
## Making the Lily58 R2G:
All of the below steps should be repeated for both halves, no difference in which side you're making up!
### Step 1: Installing Switches into the PCB/Plate
It may seem like an odd first step, but I'd recommend starting off by screwing in our standoffs for the OLED Cover onto the PCB using the shorter screws. This can be a bit awkward to do once the switches are installed, so it's best to get it out of the way.
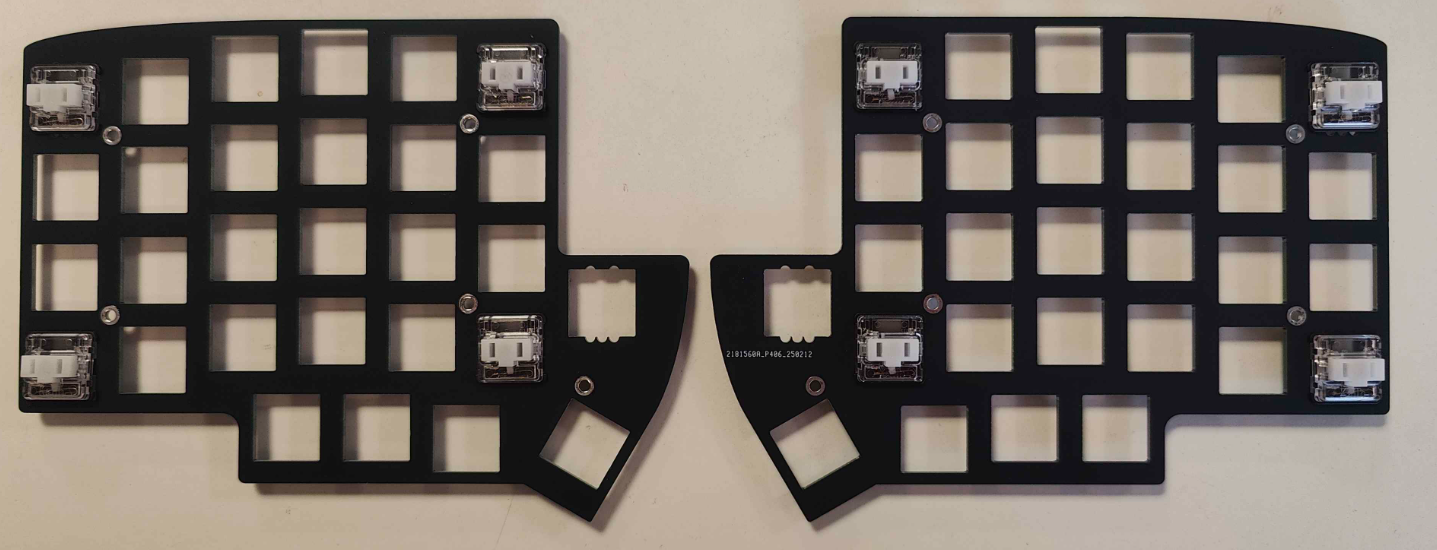
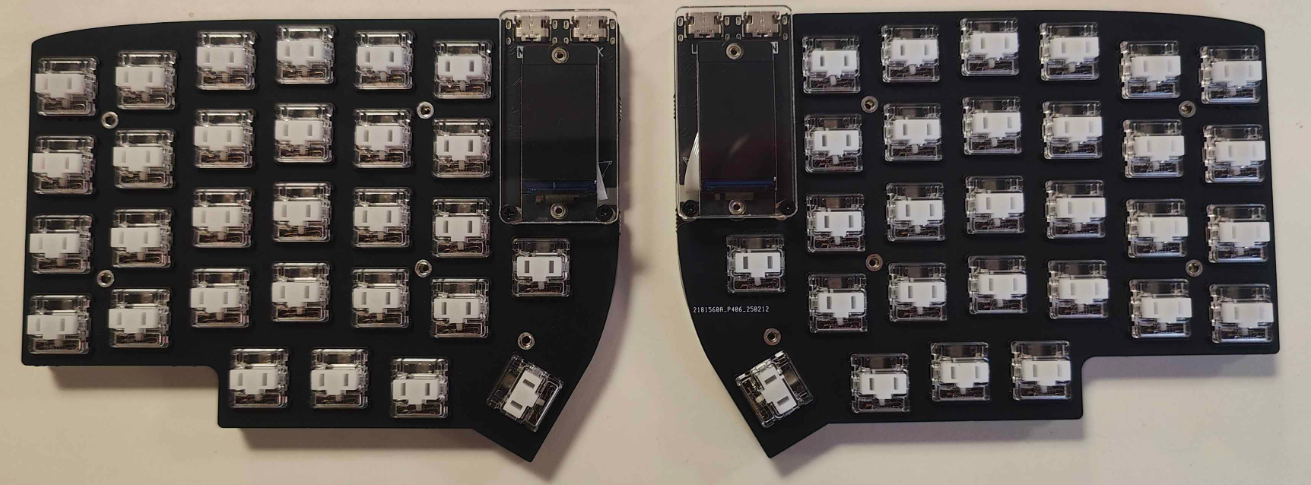
Now that the PCB is ready, we can insert 5 or 6 switches into the switch plate, this makes lining up the pins on the switches a lot easier than doing them all at once:
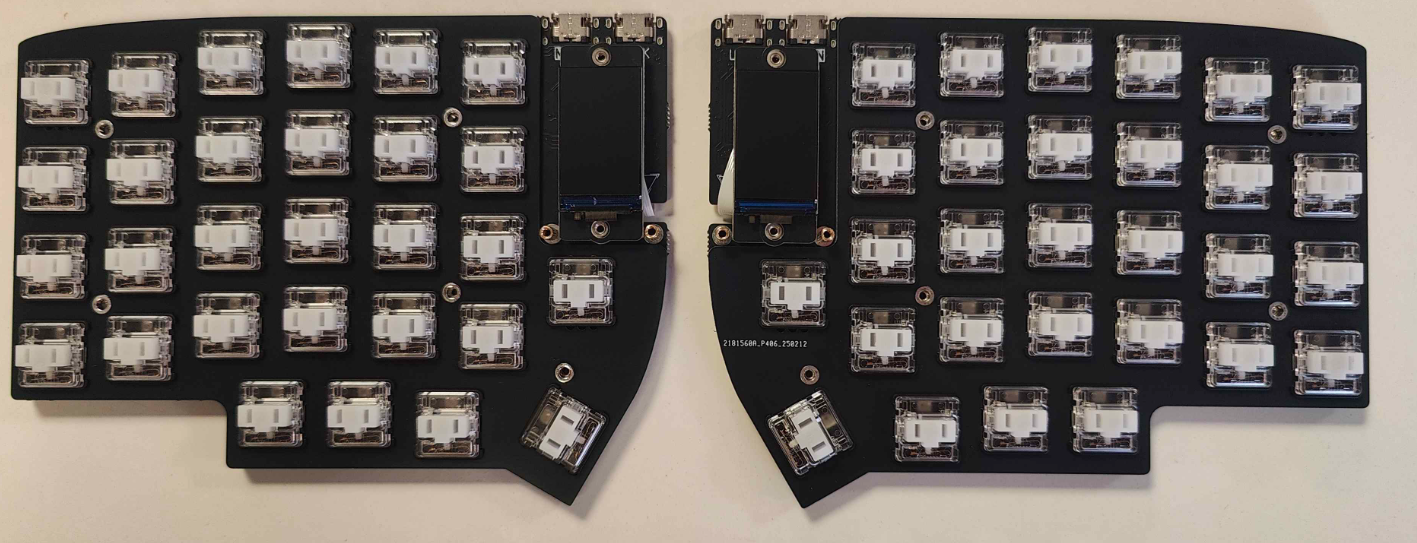
Once the switches are installed we can carefully place our PCB onto the bottom of these switches, making sure the switch pins align with the hotswap sockets, and push the PCB so that the pins all get inserted!
Finally we can insert the rest of the switches into the plate and PCB, making sure the pins are aligned before inserting them.
### Step 2: Installing the Acrylic
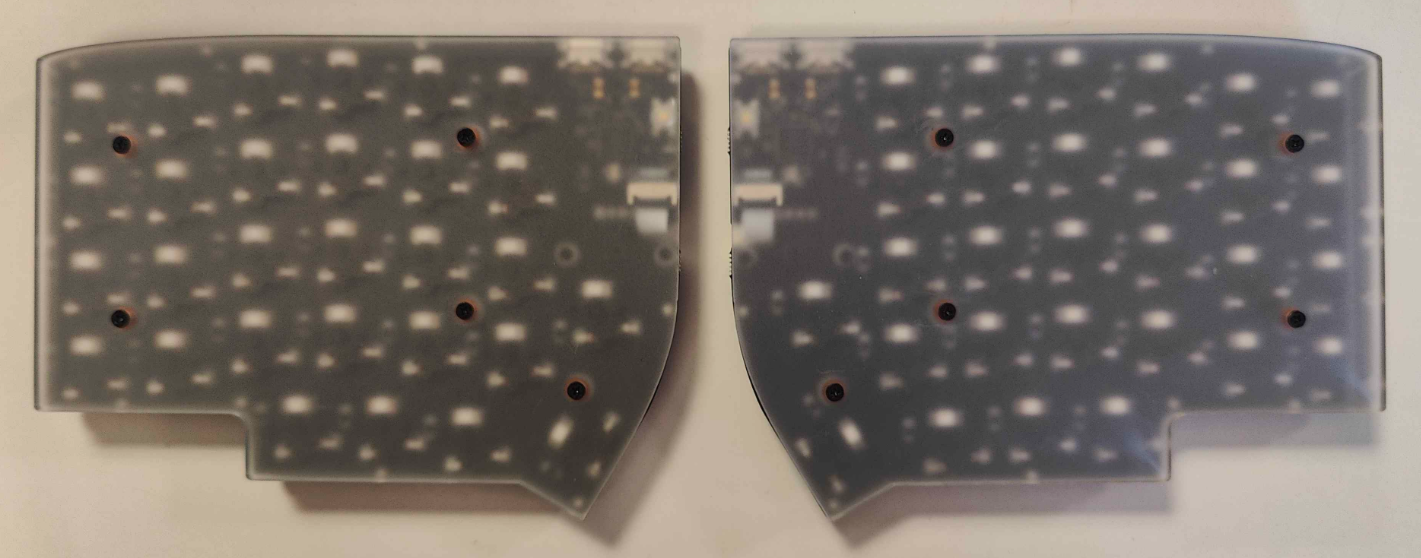
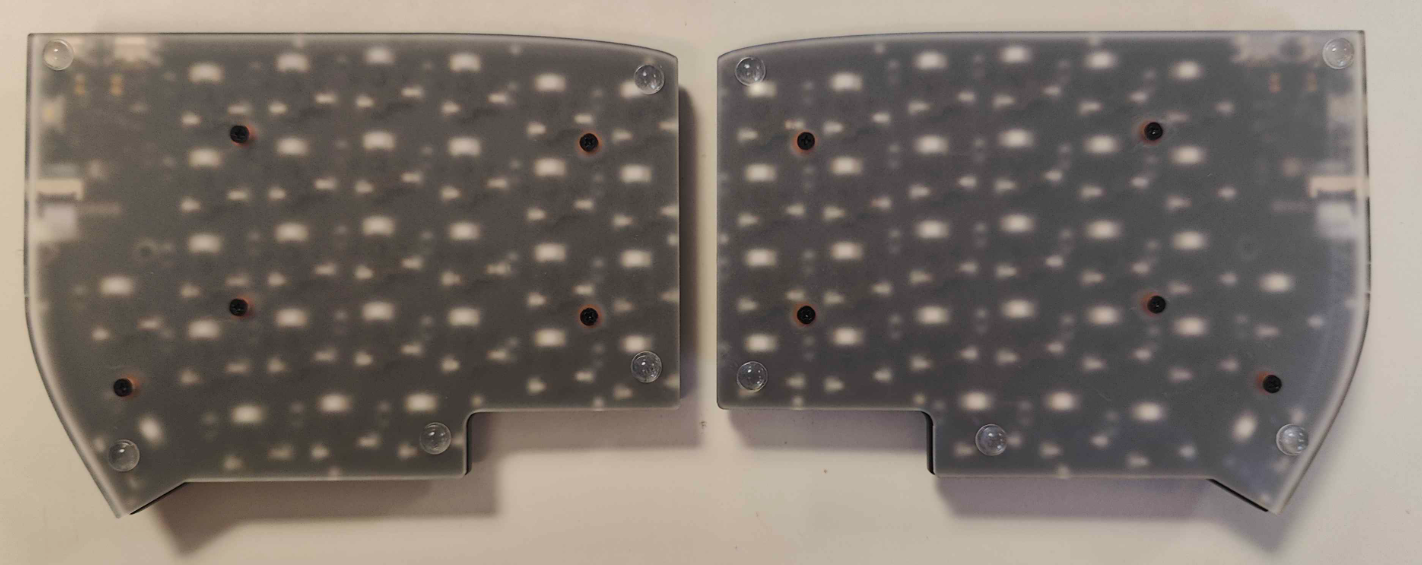
Our second step is to screw in our acrylic backplates and LCD screen covers. First off we can peel the protective covers off of the acrylic backplates and then screw them into the PCB.
{% hint style="warning" %}
Be careful not to tighten the screws too much, this could crack the acrylic
{% endhint %}
Finally, we can repeat the same process for the LCD screen covers:
### Step 3: Finishing Touches
Now that the main assembly is completed you can add on your rubber feet and keycaps, the placement of the feet is down to personal preference, here's what we've gone for:
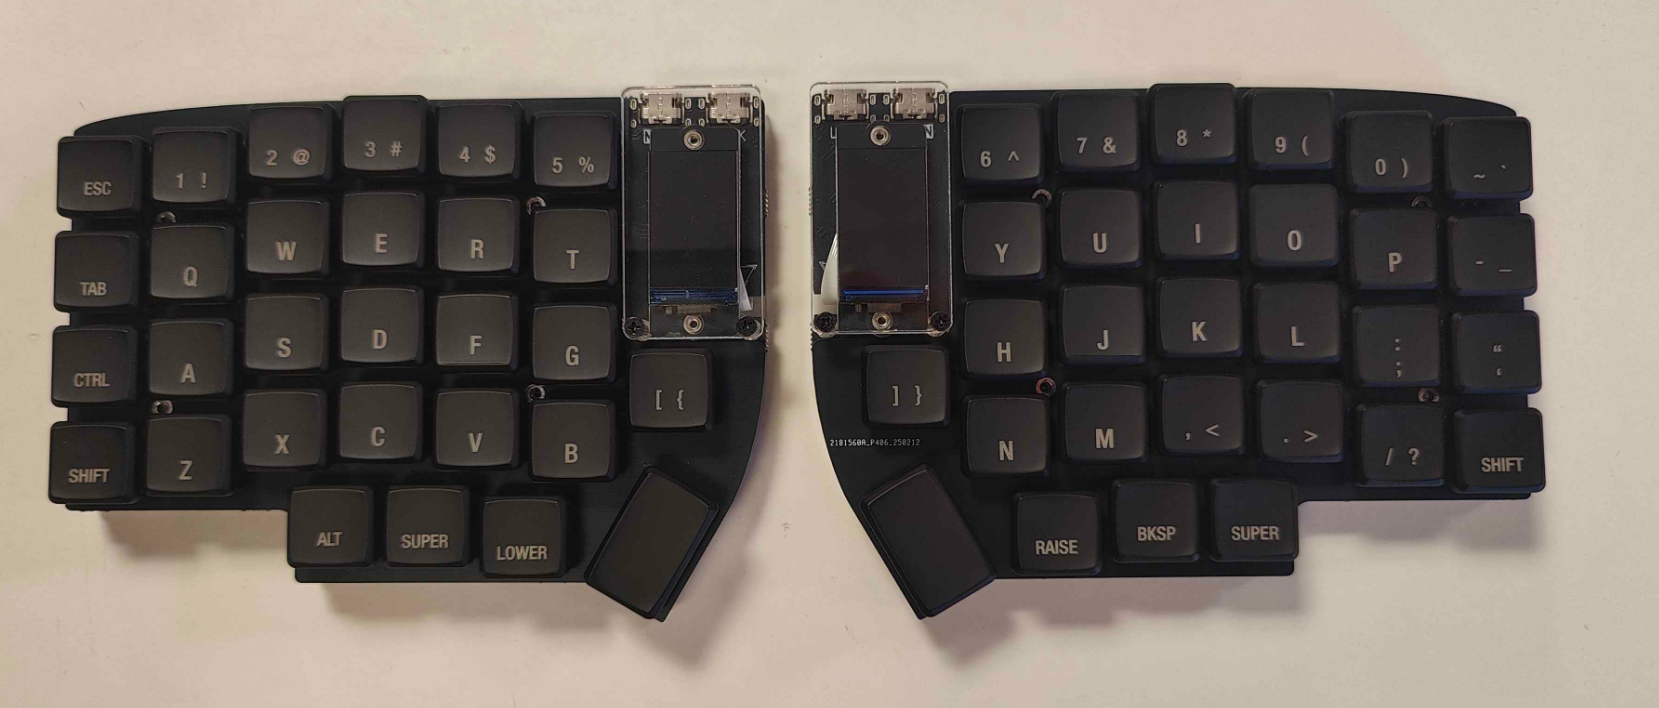
Finally, we can install the keycaps, by simply pushing each keycap onto their respective switches, and we're done!
Use the below link to get started with your new keyboard!
{% content-ref url="/pages/YyeOfxrRRJeZV7mic7QP" %}
[Lily58 R2G](/guides/getting-started/lily58-r2g.md)
{% endcontent-ref %}